4.1 KiB
React Native Branch - Installation
For beta version 2.0.0 see Release 2.0.0. These instructions are for 0.9 and 1.x.
npm install --save react-native-branchreact-native link react-native-branchor link the project manually- Add
pod 'Branch'as a dependency in your ios/Podfile cd ios; pod install --repo-update
Note that CocoaPods 1.x no longer automatically updates pod repositories automatically on pod install. To make sure
you get the latest version of the Branch SDK, use --repo-update or run pod repo update before pod install.
CocoaPods
Example Podfile
In a standard installation your Podfile should look something like:
target 'MyProject' do
  pod 'Branch'
end
Creating a New Podfile
If you do not already have a Podfile in your ios directory, you can create one with cd ios; pod init. Then add pod 'Branch' to your target. Or you
can copy the simple Podfile from the testbed_cocoapods sample app
and modify it for your target(s), e.g.:
use_frameworks!
platform :ios, "8.0"

pod "Branch"

target "MyProject"
target "MyProjectTests"
Now run pod install to get the Branch SDK.
After pod install you will from now on need to open your project using [MyProject].xcworkspace instead of the original .xcodeproj.
Pod Only Installation
If you already use the React pod, you can simply add the react-native-branch dependency to your Podfile:
target 'MyProject' do
  pod 'React', path: '../node_modules/react-native'
  pod 'react-native-branch', path: '../node_modules/react-native-branch'
end
Carthage
If you would prefer to use Carthage, you can skip steps 3 & 4 above and instead add the following to your Cartfile:
github "BranchMetrics/ios-branch-deep-linking"
Then run:
carthage update
If you're unfamiliar with how to add a framework to your project with Carthage, you can learn more here. You will need to maually link the framework by adding it to the "Linked Frameworks and Libraries" section of your target settings, and copy it by adding it to the "Input Files" section of your carthage copy-frameworks build phase.
Manual Linking
iOS:
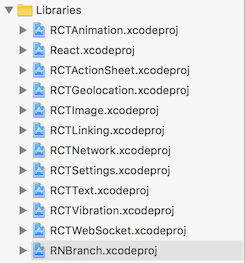
- Drag and Drop node_modules/react-native-branch/RNBranch/RNBranch.xcodeproj into the Libraries folder of your project in XCode (as described in Step 1 here). Be certain to add RNBRanch.xcodeproj after all the React projects in the Libraries group.
- Drag and Drop the RNBranch.xcodeproj's Products's libreact-native-branch.a into your project's target's "Linked Frameworks and Libraries" section (as described in Step 2 here). The order here is not important. Note: In version 0.9, the library is called libRNBranch.a.
- If you are using version 0.9 of
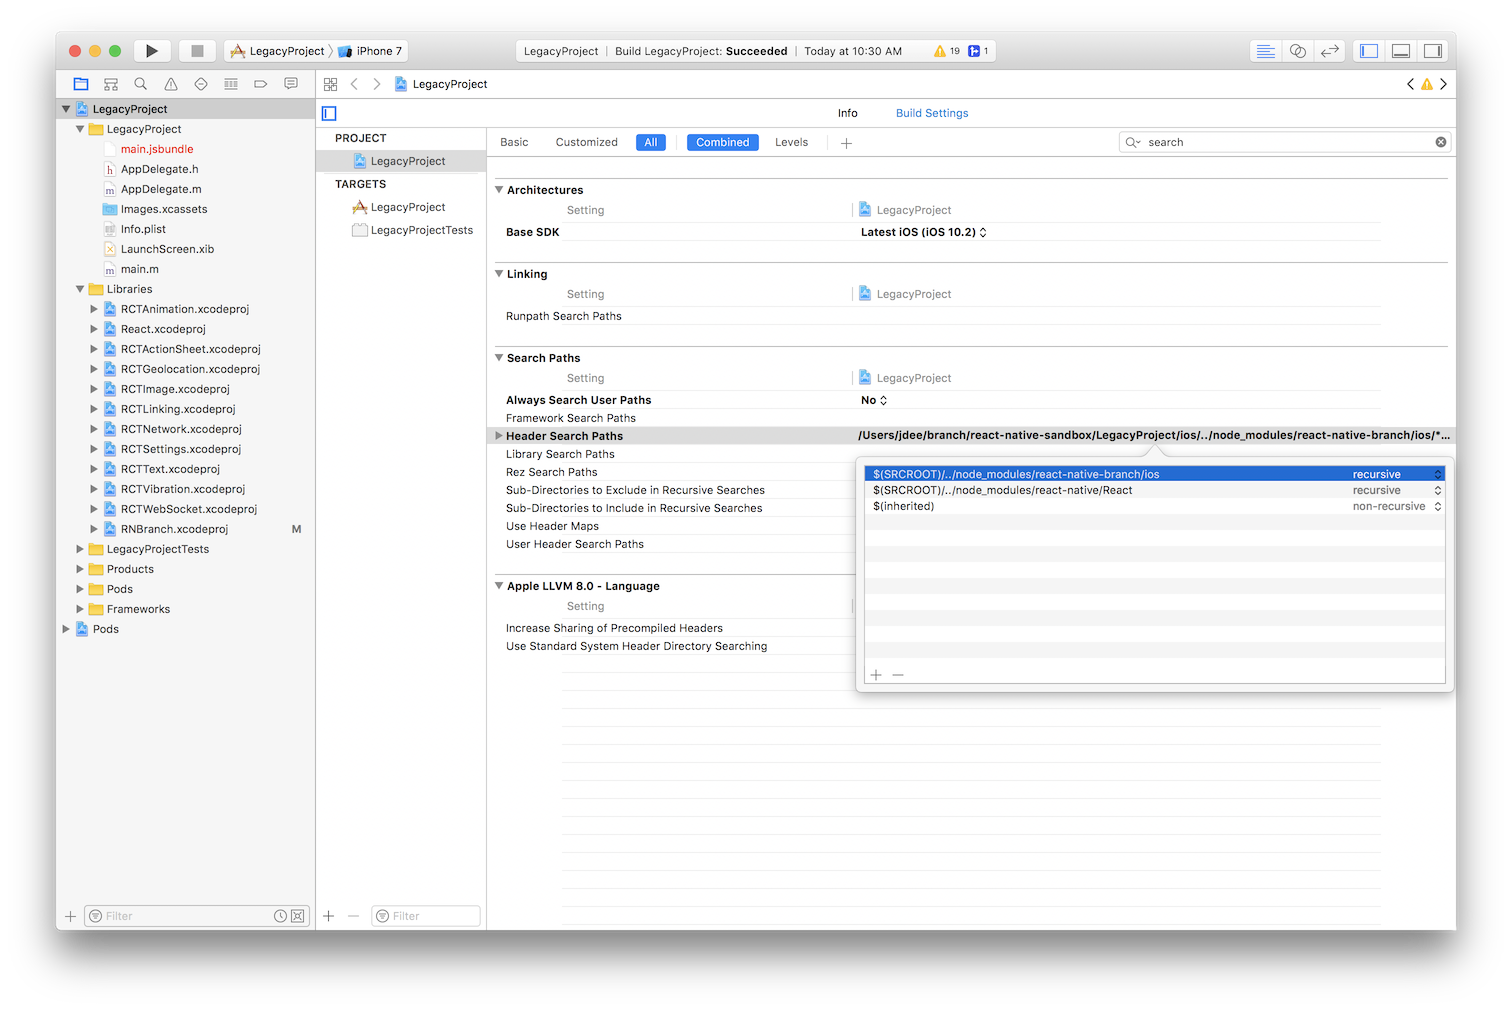
react-native-branch, add a Header Search Path pointing to$(SRCROOT)/../node_modules/react-native-branch/ios(as described in Step 3 here).
This step is not necessary if you are using version 1.0.
android:
android/settings.gradle
include ':react-native-branch', ':app'

project(':react-native-branch').projectDir = new File(rootProject.projectDir, '../node_modules/react-native-branch/android')
android/app/build.gradle
dependencies {
    ...
    compile project(':react-native-branch')
}
Now that Branch is installed, you will need to set up your app to handle Branch links.

